
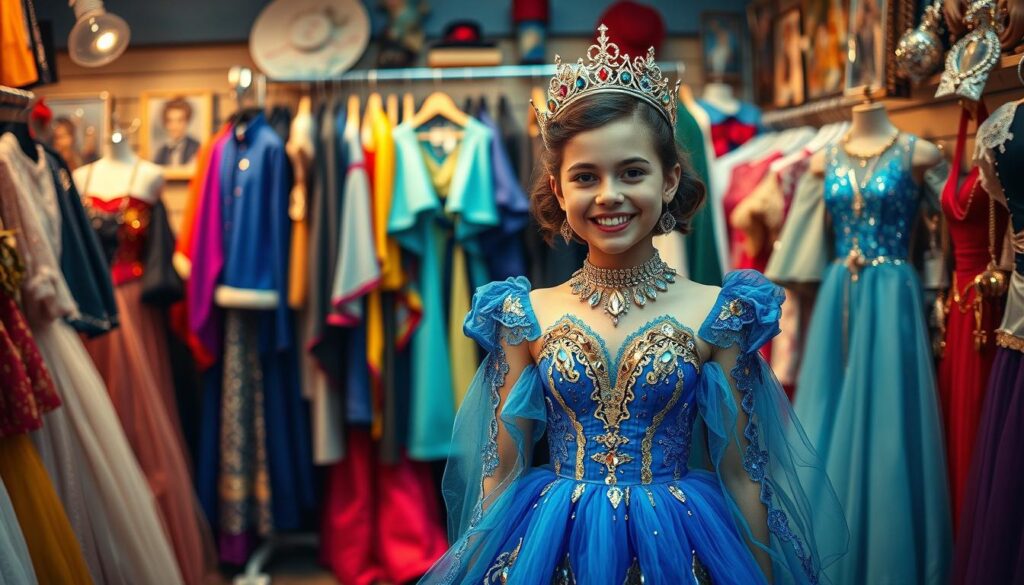
Imagine making a stunning royal outfit without spending a lot. The secret isn’t a fairy godmother’s magic wand. It’s about having a sharp eye and a creative mind. This is what the thrift-flip is all about: turning old, used items into fancy princess and prince clothes.
You get to be the designer of your own dream. It starts with a smart plan, seeing the good in things others overlook. A worn-out formal dress can turn into a queen’s gown. A simple jacket can become a prince’s outfit.
There are big wins here. You save money, making amazing outfits for less than store prices. But the real prize is the joy of creating. Every piece shows off your creativity and talent.
This guide will give you the tools you need. We’ll go from idea to action, teaching you how to find and fix up items. Let’s start making your own affordable royal looks.
Thrift Strategy: target sections, best days, coupons
Starting a successful thrift store costume hunt needs a plan. Focus on specific sections and know the store’s rhythm. Browsing randomly wastes time and doesn’t always yield good results. Thrifters use a precise method to find what they need.
This method helps turn overwhelming racks into great finds. You learn to see the value in items others overlook. With the right strategy, any thrift store can become a treasure trove for royal costumes.
Your first step is to target the right store sections. Not all areas are equal when it comes to finding costume pieces. Focus on where the best finds are likely to be.
The formalwear section is key. Here, you’ll find gowns, suits, and dressy separates perfect for royal looks. Look for fabrics like satin, taffeta, and velvet.
Bridal departments are also great. Wedding gowns have big skirts for princess looks. Bridesmaid dresses are in rich colors, perfect for royal costumes.
Oversized clothing sections have hidden gems. Large men’s shirts can become knight tunics. Billowy blouses can turn into peasant tops. Think about how items can be altered or repurposed.
| Store Section | Costume Potencial | Key Items to Hunt | Best For |
|---|---|---|---|
| Formalwear | High – Direct royal bases | Evening gowns, tuxedos, cocktail dresses | Princess gowns, prince suits |
| Bridal | Very High – Dramatic pieces | Wedding dresses, veils, bridesmaid gowns | Ballgowns, royal wedding looks |
| Oversized Clothing | Medium-High – Versatile bases | Large shirts, flowing blouses, capes | Knight armor bases, peasant wear |
| Accessories | Medium – Finishing touches | Belts, costume jewelry, scarves | Crowns, sashes, royal insignia |
Timing your visits is also key. Most thrift stores restock in a predictable pattern. Knowing this lets you get there first.
Weekday mornings are best. Stores restock after weekend sales. Tuesday through Thursday mornings are the most productive.
New donations come in early in the week. These items get processed and hit the floors mid-week. Avoid weekends when stores are busiest.
Some stores have color tag sales. Items with certain colored tags get discounted on specific days. Ask staff about their system to save more.
Pro tip: Visit the same store often. Staff will get to know you and might share tips. They know when the best donations arrive.
Never pay full price. Most stores offer discounts for savvy shoppers. These programs can cut your costs significantly.
Look for senior, student, and military discounts. Many stores offer these. They can save you a lot.
Loyalty programs help you save too. Some stores offer punch cards or points. Frequent shoppers get discounts or special sale access.
Color tag systems also offer discounts. Each week, a different color gets 25-50% off. Some stores have “everything with this color is $1” days.
Follow your favorite stores on social media. They post about sales and special events. Some offer digital coupons to followers.
Use this three-part strategy:
- Scan formalwear, bridal, and oversized sections first
- Time visits for Tuesday-Thursday mornings
- Always ask about current discounts and loyalty programs
Mastering these tactics turns thrift shopping into a skill. You’ll create thrift store costume ensembles for less. Each find boosts your strategy.
The best thrift store costume pieces are often hidden. Your trained eye will spot them. Systematic searching makes every visit productive.
Fabric ID & Quality Cues (No‑Burn Alternatives, Hand Feel)
You don’t need a lab to find luxury materials. Your hands and eyes are the best tools. To find a thrift-flip fit for royalty, the fabric must be top-notch. This step turns a temporary costume into a lasting treasure.
Traditional burn tests are not practical in a store. Instead, learn these three easy methods. They will help you spot the brocade, velvet, and satin that define royal style.
The Hand Feel Test
Luxury fabrics talk through texture. Feel the material between your fingers. High-quality natural fibers like silk and wool feel smooth and substantial.
Polyester and other synthetics feel slippery or plastic-like. Cheap brocade might feel stiff. Real brocade feels complex, with patterns you can trace.
Don’t just touch. Listen. Crumple a small section of the fabric in your hand. Fine cotton and linen rustle softly. Silk is almost silent. A loud, crackly sound often signals a synthetic blend or a finish that may wash out.
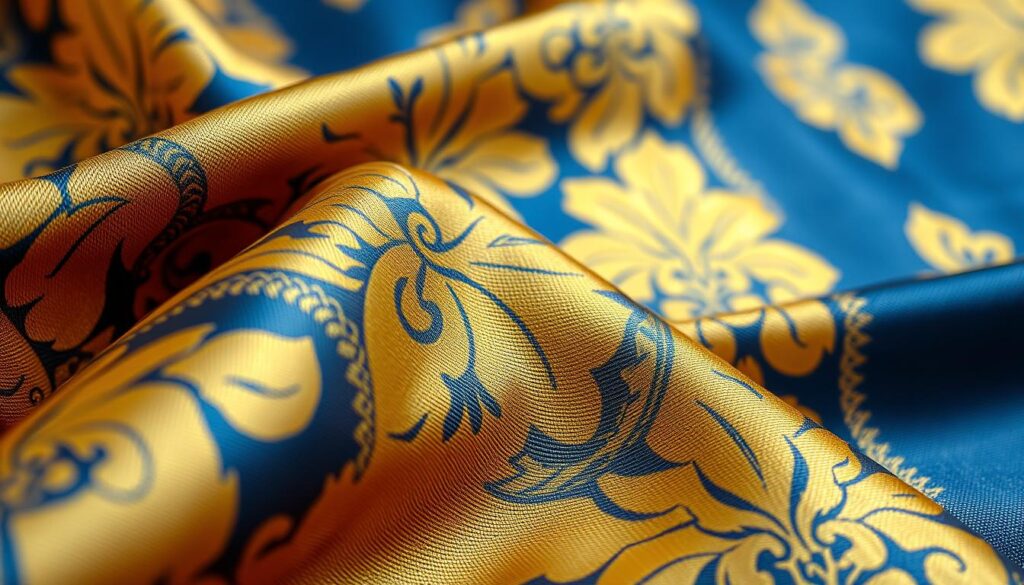
Hold the garment up to good light. Look at the weave’s density and pattern. Tight, even weaves mean better construction and durability. Look for flaws like slubs, pulls, or inconsistent threading.
For brocade, look for a raised, jacquard pattern that is integral to the fabric. True velvet has a dense, plush pile that reflects light differently when brushed. Quality satin displays a consistent, glossy surface with a tight weave.
Check the fabric’s reverse side. A well-made piece will have a neat interior. Lining can hide flaws, so inspect unlined areas like hems or seams.
Label Deciphering
Care labels are a cheat sheet. “100% Silk,” “Pure Wool,” or “Linen” are green lights. Blends like “Polyester/Rayon” can be good, but manage your expectations for drape and breathability.
Vintage labels often use older terms like “acetate” or “taffeta.” A quick phone search can clarify. Also, look for designer labels or union tags. They often, but not always, correlate with better fabric quality.
Use the table below as your quick-reference field guide to common royal fabrics.
| Fabric Type | Hand Feel & Drape | Visual Weave Clues | Vintage Quality Indicators |
|---|---|---|---|
| Brocade | Heavy, stiff, with a raised, textured pattern. Feels rich and complex. | Intricate, reversible jacquard patterns. Metallic or contrasting threads woven in. | Pattern is woven, not embroidered on. Backing is neat. No snags in raised design. |
| Velvet | Luxuriously soft, plush, and smooth. Pile bends easily under pressure. | Distinct, dense pile that creates light/shadow effects. Can be silk, cotton, or synthetic. | Pile is uniform and dense. No bald patches. Color is rich and deep. |
| Satin | Exceptionally smooth, glossy, and fluid. Has a liquid drape. | High sheen on one side, dull matte on the reverse. Tight, flat weave. | Fabric is thick and doesn’t easily snag. Sheen is inherent, not a coating. |
Spotting high-quality vintage is about looking for signs of care and inherent value. Seams should be straight and finished. Buttons are often natural materials like horn or mother-of-pearl on better pieces.
Lower-quality garments may have puckered seams, loose threads, and thin, translucent fabric. They lack the substance needed for a royal transformation.
Trust your senses. When you find a piece with the right weight, texture, and construction, you’ve found a throne-worthy foundation. Your next step is to plan its color story.
Palette & Theme Planning
The magic of a thrift-flip royal outfit starts with a well-planned color palette and theme. This creative plan turns a random secondhand piece into a cohesive, character-driven costume. Without it, even the best tailoring can’t save a disjointed look.
First, decide on your royal persona. Are you a majestic queen, a gentle princess, or a valiant prince? Your choice sets the color story. Jewel tones like emerald, sapphire, and ruby evoke power and luxury, fitting for a sovereign. Soft pastels—lavender, blush pink, and powder blue—suit a princess. For a prince, rich earth tones or regal navy work well.
Next, create a mood board. Use online tools or a physical collage with fabric swatches, inspiration images, and jewelry. This visual guide keeps your vision clear. It ensures every addition, from trim to accessories, supports the final theme.
Often, the perfect garment is the wrong color. This is where fabric dye becomes your most powerful ally. It lets you transform a natural fiber find into your ideal regal hue. A beige linen dress can become a deep royal purple. A white cotton blouse can be dyed a soft gold.
Successful dyeing needs careful fabric compatibility. Only natural fibers like cotton, linen, silk, and wool absorb dye well. Synthetic blends will result in patchy, faded color. Always check the garment’s fiber content label before starting. Use a high-quality fabric dye designed for the specific fiber type, such as fiber-reactive dye for cotton or acid dye for silk.
Follow these key steps for professional results:
- Pre-wash the item to remove any finishes that might block the dye.
- Use a large pot dedicated to dyeing and follow the product’s water, salt, and vinegar instructions precisely.
- Maintain a consistent, simmering temperature and stir the garment continuously for even color.
- Rinse the item in cool water until it runs clear, then wash it separately.
This process unlocks a world of color possibilities. A cohesive palette and theme, supported by the strategic use of fabric dye, elevate your costume from homemade to storybook royalty. Plan first, then transform.
No‑Sew Alterations (hem tape, fabric glue)
Turning a thrift store find into a royal outfit is easy without sewing. You just need some adhesive solutions. This guide will show you how to do it step by step for a perfect finish.
Learn to fix hems, add decorations, and close seams. These methods are great for beginners or those without a sewing machine. They give amazing results with little time and tools.
Mastering Fusible Hem Tape
Fusible hem tape is a special adhesive strip that gets activated by heat. It makes a strong, clean bond between fabrics. It’s perfect for quickly shortening gowns, cloaks, or trousers.
Here’s how to hem perfectly:
- Measure and Mark: Try the garment on the wearer. Pin or chalk the new hemline.
- Cut and Iron: Trim excess fabric, leaving half an inch for the fold. Place the hem tape inside the fold.
- Apply Heat: Iron on the right fabric setting. Press for 10-15 seconds, then let cool before touching.
Don’t move the iron too fast. This lets the adhesive melt fully. Always use a pressing cloth to protect fabrics from heat.
Working with Fabric Glue
Fabric glue makes a flexible, washable bond. It’s great for adding lace, appliqués, or rhinestones. It also seals seams or fixes small tears.
For the best results:
- Clean the Surface: Make sure fabric is dry and free of dust or lint.
- Apply Sparingly: Use a thin, even layer. Too much glue can stain.
- Press and Hold: Press the materials together for 30-60 seconds. Use clips or weights to hold as it dries.
Fabric glue dries clear, but test it first. Wait 24 hours before wearing the garment.
| Product | Best For | Key Tip | Drying/Curing Time |
|---|---|---|---|
| Fusible Hem Tape | Permanent hems, seam sealing | Use a pressing cloth; don’t steam until cool | Sets in seconds, cures when cool |
| Fabric Glue | Attaching trims, appliqués, quick fixes | Apply in a well-ventilated area | Touch-dry in 2-5 min, full cure in 24 hrs |
| Fabric Tape Strips | Temporary holds, basting, no-iron fixes | Press firmly along entire strip | Instant bond |
| Liquid Stitch | Heavy-duty bonds on denim or canvas | Apply to both surfaces, let get tacky first | 24 hours for full strength |
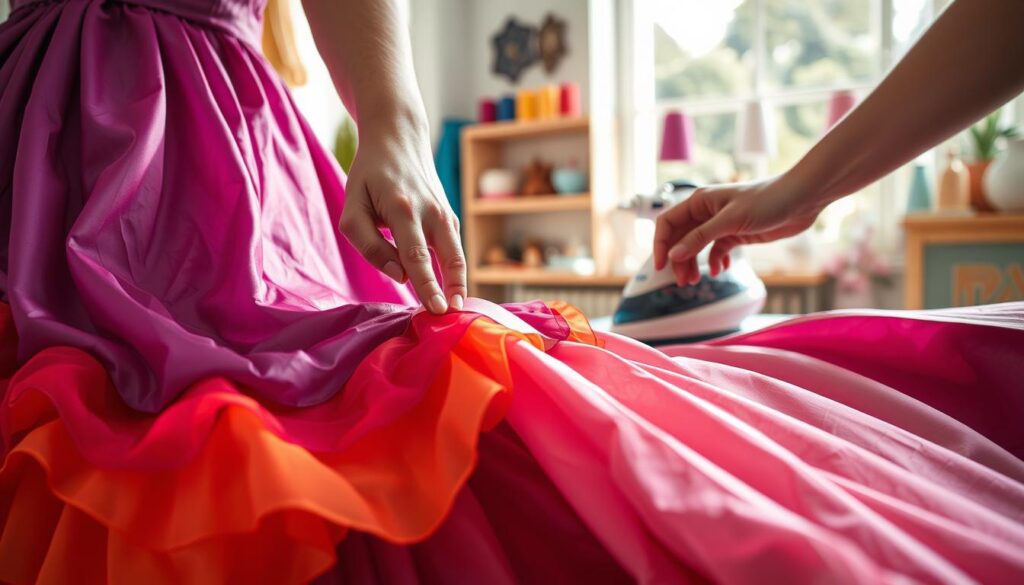
With the right technique, these simple products become powerful tools. The goal is a finish that looks tailored, not tacked on. Take your time, follow the instructions, and practice on scrap fabric first.
No-sew alterations make costume creation accessible to all. They remove the fear of complex sewing. Now, anyone can create a custom-fit royal look with confidence and ease.
Quick Tailoring with Minimal Stitches
Quick tailoring is key to making oversized clothes fit perfectly. It goes beyond no-sew methods to give you a precise fit. With a few basic techniques, you can make any secondhand item look custom-made.
These methods need only a little stitching but make a big difference. They’re easy for beginners, with simple steps and tools you likely have. They’re like having a pro’s toolkit for changing clothes.
The elastic cinch is a top technique for a royal look. It turns loose bodices or waists into a fitted, gathered shape. It’s like having the elegance of old-time gowns but easy to do today.
To do an elastic cinch, you need wide elastic and a needle. Make a channel in the waist by folding the fabric and sewing it. Then, put the elastic through, adjust it, and tie the ends. This creates a beautiful gather that highlights the waist.
Another key skill is taking in a side seam. This is often all a boxy blazer or dress needs. Try it on inside-out and pin along the seam for a better fit. Use a backstitch for strength along the pinned line. This small change can make your outfit look intentionally tailored.
Shortening sleeves or a hem is also easy. Just mark where you want it, fold the fabric, and baste it. Then, sew a slip stitch or machine stitch for a clean finish. These small changes ensure your clothes fit right and look polished.
Learning the elastic cinch and these basic stitches is very useful. It lets you confidently change any find, making sure every piece fits perfectly. This skill turns thrift shopping into a fun design journey.
Embellishment Library: trims, appliqués, brooches, belts
Think of embellishments as the royal jewels of your thrift-flip costume. They turn a simple base into a regal masterpiece. This section is your masterclass in detail work. We will curate a virtual library of options to elevate your look.
Details make the difference between a costume and a character. A plain gown becomes a statement piece with thoughtful additions. Let’s explore the key categories in your embellishment arsenal.
The Trim Collection
Trims are the foundational detail for any royal garment. They define edges, add texture, and introduce color. The world of decorative trim, or passementerie, is vast. Understanding the main types helps you choose wisely.
Lace offers delicate, feminine flair. Braid provides structured, linear detail. Fringe creates dynamic movement and drama. Each type serves a different purpose on your prince or princess look.
Selecting the right trim involves both aesthetics and practicality. Consider the weight of your base fabric. A heavy brocade can handle thick braid. A sheer chiffon might need delicate lace. Always test how the trim lays before committing.
| Trim Type | Best For | Attachment Method | Sourcing Tip |
|---|---|---|---|
| Lace | Necklines, sleeves, hem accents | Fabric glue or narrow zigzag stitch | Check vintage linens for unique patterns |
| Braid | Military details, borders, vertical stripes | Hand-stitch or sewing machine (straight stitch) | Look in the upholstery section for wide, ornate styles |
| Fringe | Shawl edges, sleeve cuffs, overlay hems | Secure base tape with strong glue or stitches | Old curtains or stage costumes are prime sources |
| Cord & Tassel | Closure accents, belt details, shoulder decor | Hand-tie and stitch at anchor points | Salvage from outdated home decor items like tassel ties |
The Appliqué Archive
Vintage appliqués are a hidden treasure for thrift-flippers. These pre-made decorative motifs can depict flowers, shields, or scrollwork. They offer detailed embellishments without advanced embroidery skills.
Sourcing these pieces requires a keen eye. Look beyond the clothing aisles. Often, the best finds are on damaged items headed for the bin.
- Inspect damaged evening gowns for beaded or sequined motifs you can carefully remove.
- Check children’s formalwear for smaller, playful appliqués perfect for a princely doublet.
- Browse online marketplaces like Etsy using search terms like “vintage fabric appliqué” or “orphaned embroidery.”
To attach, use fabric glue for a no-sew option. For durability, a small hand-stitch around the edges works best. Position appliqués to cover stains or flaws on your base garment.
Brooches & Belts: The Statement Makers
These are your most versatile tools. A well-placed brooch or belt does sheer magic. They instantly add structure, sparkle, and a focal point.
Brooches serve multiple functions. Use a glittering piece to close a cape at the neck. Cluster smaller pins on a hat or bodice. A vintage cameo can become a centerpiece medallion.
- Convert a brooch into a pendant for a necklace.
- Use one to secure a sash or scarf in place.
- Choose pieces with pin-back findings for easy removal and reuse.
Belts are essential for defining the royal silhouette. A wide cinching belt creates an empire waist on a flowing dress. A simple ribbon can mark a waistline on a tunic. Look for belts with ornate buckles or add your own trim.
For a custom look, wrap a plain belt with metallic braid or glue on small brooches. This cohesion between your embellishments creates a polished, intentional design.
The final key is secure attachment. Whether using fabric glue from your no-sew kit or a few hidden stitches, ensure every detail is fastened firmly. Your royal ensemble should withstand a night of celebration. Mix and match elements from your library with confidence. Let each detail tell a part of your character’s story.
Accessories: crowns, gloves, capes from scarves
Turn simple items into majestic crowns, gloves, and capes. The right accessories make a royal character complete. They add the final touch to your thrift-flip creation.
You don’t need a big budget. With creative thinking, you can make a royal accessory kit from everyday items. This shows off your problem-solving skills.
Crafting Regal Crowns from Base Materials
A crown is the ultimate royal symbol. Start with a simple base. Use sturdy craft wire or a cleaned cardboard strip.
Shape the base into a circle for your head. Then, start adding embellishments. Glue on plastic gems, beads, or metallic buttons.
For a textured look, wrap the base with gold or silver ribbon. An old brooch is perfect for the center. This turns trash into treasure.
Fashioning Elegant Gloves from Old Lace
Long gloves add elegance. Look for lace curtains or a lace tablecloth at thrift stores. This fabric is perfect.
Place your hand and forearm on the fabric to trace a glove shape. Cut two identical pieces. Use fabric glue to seal the seams.
For a better look, add a thin ribbon trim at the top. This embellishment hides raw edges. It also makes the gloves fit better.
A cape makes a grand entrance. Find large, flowing fabrics like scarves, curtains, or lightweight blankets. Velvet curtain scraps feel royal.
Draping is the simplest method. Fold a large scarf in half lengthwise. Pin it at the shoulders of your dress. Let the rest flow down your back.
For a fastened cape, add a clasp or a decorative brooch. This embellishment secures the garment. It also adds a focal point.
| Accessory | Base Material | Key Technique | Embellishment Tip |
|---|---|---|---|
| Crown | Wire, Cardboard | Shaping & Wrapping | Use a statement brooch as the center gem |
| Gloves | Lace, Thin Knit | Trace & Glue Seams | Finish edges with satin ribbon |
| Cape | Large Scarf, Curtain | Draping & Folding | Secure with a decorative clasp or pin |
These projects show you don’t need special materials. The magic is in your vision and a few strategic additions. Each piece gets a personal touch.
Remember, the goal is creative repurposing. A broken necklace becomes crown jewels. An outdated curtain becomes a regal cape. This is the heart of thrift-flip royalty.
Your final embellishment choices should tell your character’s story. Glittery embellishments suit fairy-tale princesses. Vintage brooches fit classic queens. Let the accessories complete your story.
Cleaning & Ethics of Secondhand
Cleaning and ethics are key to responsible thrift-flipping. They make your creations both beautiful and thoughtful. Before you start, you must think about the garment’s past. Cleaning protects you, and ethics honor its journey.
This step is like a royal coronation for the fabric. You’re getting it ready for a new life. It’s not just practical; it’s a statement of values.
Begin with a detailed inspection. Look for stains, odors, and wear. Check seams and underarms closely. This tells you what cleaning challenges you face. Never skip this step. It guides your entire approach.
For most fabrics, a gentle hand wash is best. Use cold water and a mild detergent. Let it soak for 30 minutes. Gently agitate the water with your hands. Rinse until the water runs clear.
Some items can go in the machine. Always use a delicate cycle and a mesh bag. This protects buttons and delicate trim. Cold water prevents colors from bleeding and fabric from shrinking.
After washing, drying is important. Never wring out delicate fabrics. Instead, roll them in a clean towel to press out moisture. Lay them flat on a drying rack away from direct sun. This maintains the garment’s shape and prevents damage.
For items you cannot wash, consider steaming. A garment steamer kills bacteria and refreshes fibers. It also removes wrinkles beautifully. This is a fantastic alteration hack for delicate vintage pieces. It prepares them for modification without a full wash.
| Cleaning Method | Best For Fabric Types | Key Steps | Important Precautions |
|---|---|---|---|
| Hand Washing | Silk, Wool, Lace, Delicate Synthetics | Cold water soak, mild detergent, gentle agitation, flat dry | Test for colorfastness first; never use hot water |
| Machine Wash (Delicate) | Sturdy Cotton, Polyester, Blends | Use mesh bag, cold water, delicate cycle, low-heat tumble dry | Fasten all buttons and zippers; turn garment inside out |
| Spot Treatment | Localized stains on any fabric | Apply stain remover, let sit, blot (don’t rub), rinse area | Always test remover on an inconspicuous seam first |
| Professional Cleaning | Suits, Beaded Gowns, Leather, Vintage items | Take to a trusted cleaner specializing in delicate care | Communicate any existing damage or fragile areas |
Now, let’s talk about the ethics behind your project. Thrifting is sustainable. It keeps clothing out of landfills. When you flip a piece, you amplify this effect. You are not just recycling. You are upcycling with purpose.
Practice mindful consumption. Buy only what you truly love and can transform. Avoid hoarding items with a vague “someday” plan. This respects the thrift ecosystem. It leaves good finds for others.
Respect the garment’s history. Some alteration hacks are reversible. This honors the original maker’s work. Ask yourself if a change adds value or just novelty. Aim for transformations that feel timeless, not trendy.
Your creative process should be thoughtful. Every cut and stitch is a choice. Frame your alteration hacks as tools for renewal, not just shortcuts. This mindset shift is powerful. It turns a craft project into a conscious act.
Consider the story. A thrifted piece has a past. Your work gives it a future. This cycle of care and creativity is what makes thrift-flipping special. It is more than a hobby. It is a small act of royal stewardship for our world.
By mastering cleaning and embracing ethics, you build a stronger practice. Your princess and prince looks will carry deeper meaning. They will be crafted with skill, care, and respect. That is the mark of a true thrift-flip royalty.
Budget Before/After
The true power of a thrift-flip strategy is in the numbers. A budget analysis shows the amazing value of using skills from start to finish.
Imagine finding a plain, floor-length satin bridesmaid dress for $7.99. It’s the perfect start for a royal makeover.
The “after” investment is small. A spool of gold metallic trim costs $3.50. A package of HeatnBond hem tape is $4.99. A few repurposed costume jewelry brooches add $2.00. The total material cost is about $10.49.
Adding the $7.99 base dress, the total cost is under $20. You get a unique princess gown that’s as good as ones costing five times more. This shows that making imaginative playwear, as discussed in rethinking princess fashion, is very affordable.
This budget breakdown is clear proof. A small investment, combined with creativity and knowledge, brings great results. You get a custom piece and the joy of making it yourself.