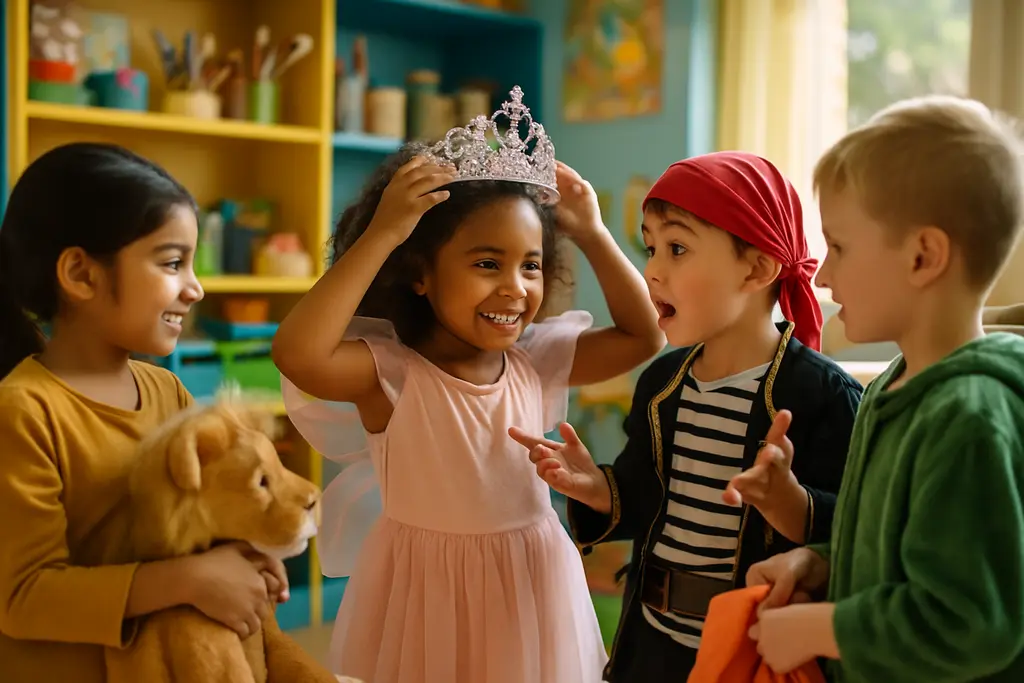

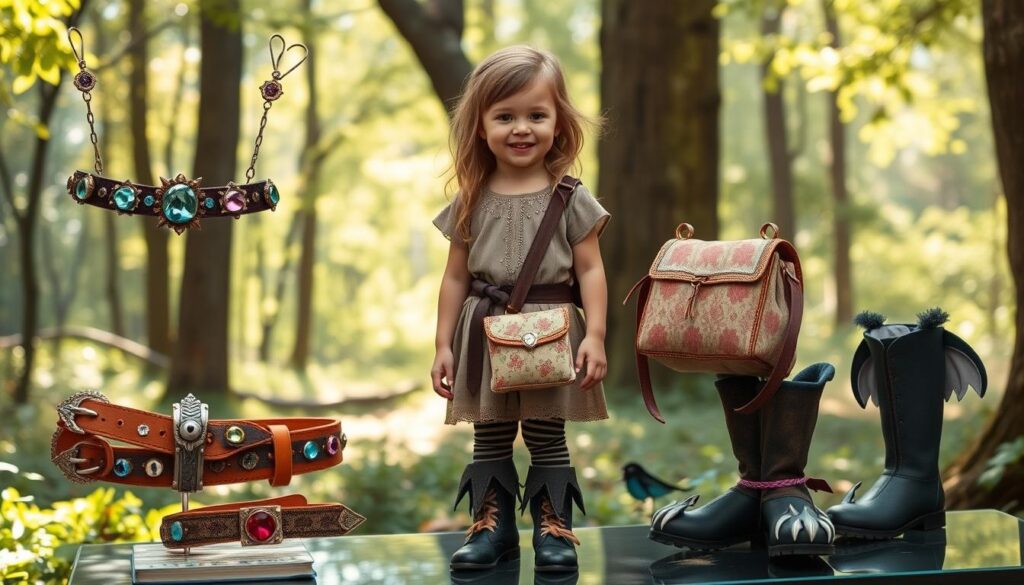
The right piece can turn a simple outfit into a full-fledged character. In the world of fantasy play and costuming, the smallest details make the biggest impact.
Handmade belts, satchels, and boot covers are not just add-ons. They are essential storytelling tools. They tell us who the adventurer is, what quest they are on, and what treasures they might carry.
Across social media, creators show how these DIY projects are affordable and personal. A weathered pouch or a crafted belt defines a costume’s personality. It completes the visual story.
For parents and makers, this is an invitation. Crafting these accessories is a rewarding way to fuel a child’s imagination. It transforms play from dress-up into genuine character creation.
Materials: foam “leather,” felt, snaps, rivets, cords
Modern crafting materials like foam leather are light and durable, perfect for kids. They make accessories safe and fun for kids to wear. This guide helps you choose affordable, easy-to-use materials.
Use foam leather, also known as vegan leather, as your main material. It’s soft, easy to cut, and safe for kids. It looks like real leather but is lighter and cheaper, great for belts and pouches.
Felt is perfect for soft parts. Use it for padding, decorations, or symbols. It’s soft, colorful, and doesn’t fray. It’s like the “satin” of fantasy, adding comfort and texture.
Snaps and rivets are great for structure and closure. Snaps are quick and secure for belts and pouches. Rivets add strength and a rugged look. They’re safer than sharp buckles for kids.
Cords and laces tie everything together. They add a storybook look to accessories. Choose jute for a rustic feel or colorful paracord for magic.
Choose materials that fit the character’s style. For a rugged ranger, use dark foam leather and metal rivets. For an elven prince, pick light felt and silky cords.
Find affordable materials at thrift stores. This approach is sustainable and fits the Ren Faire spirit. Keep these tips in mind:
- Safety First: Avoid small parts and sharp edges.
- Lightweight Wear: Kids should be free to play without being weighed down.
- Durability: Materials must last through active play.
- Ease of Assembly: Pick items that are easy to work with, like glue or simple stitches.
With these materials, you can create enchanting and practical accessories for your young hero.
Builds: belt pouches, potion vials, boot covers, bracers, book props
The magic of fantasy costumes is in the details. These details hold secrets and complete the look. We focus on five DIY projects that add story and practicality to any adventurer’s outfit.
These projects vary in complexity but aim to enhance play. Below is a table that outlines each project’s purpose and main idea.
| Project | Primary Function | Core Construction Idea | Play Value |
|---|---|---|---|
| Belt Pouches | Carry small treasures & tools | Simple fabric pouch attached via loops or straps to a belt | Holds props; adds a “lived-in” look |
| Potion Bottles | Hold magical “concoctions” | Safe plastic or resin vials with custom labels | Central to spellcasting & healing roleplay |
| Boot Covers | Transform modern footwear | Fabric spats or gaiters that slip over shoe tops | Instantly creates a period or fantasy aesthetic |
| Bracers | Arm protection & style | Shaped foam or leather pieces secured with straps | Suggests a warrior or archer class |
| Book Props | Spellbook or journal | Altered old book or foam-core creation with aged cover | Source of knowledge & mystery in character |
Belt pouches are a great place to start. Design a simple pouch shape. Use fabric loops or a leather strap to attach it to any belt. This makes the belt a display piece.
For potion bottles, safety is key. Use plastic vials or resin casts instead of glass. Add unique labels with aged paper and symbols to make it a story item.
Boot covers, or spats, are a clever idea. They are fabric tubes that fit over the ankle and calf. Use snaps or Velcro for a secure fit. This turns sneakers or boots into fantasy-ready footwear without altering them.
Bracers and book props add depth to a character’s story. Use foam “leather” for bracers, as it’s easy to shape. A distressed old book becomes a wizard’s treasure.
Together, these builds create a complete kit. They transform a costume into a tool for adventure.
Patterning & Size Adjustments for Kids
Creating costume accessories for kids is easy. We use clothes they already wear to make sure they fit right. This way, the accessory won’t get too tight or uncomfortable as they grow.

A good fit is not just about looks. It’s also about comfort and feeling like part of the costume. This makes your DIY project much more worthwhile.
Imagine fitting a bridal corset. You want it to be snug but not too tight. For kids, we make the design flexible from the start.
Here’s how to make a perfect pattern:
- Trace a Favorite Garment: Lay a shirt, pants, or belt flat on paper. Trace it to get a pattern.
- Mark Key Points: Note where the waist, hips, or chest are. This tells you where the accessory will go.
- Add a “Growth Seam”: Make straps or seams longer by an inch or two. This lets you adjust later.
Now, add these flexible features to your design:
- Longer Straps with Multiple Snaps/Rivets: This lets you tighten or loosen a belt or pouch as needed.
- Elastic Sections: Use elastic in wrist bracers or boot tops for a snug fit that moves with them.
- Overlap Closures: Make a belt or boot cover that overlaps a lot. This gives a range of sizes in one piece.
The table below shows the main ways to adjust your DIY costume accessories.
| Adjustment Method | Best For Accessory | Key Benefit for Kids |
|---|---|---|
| Longer Straps with Multiple Snaps | Belts, Satchels, Bracers | Provides incremental size changes over several seasons. |
| Integrated Elastic Sections | Boot Covers, Wrist Cuffs, Arm Bands | Ensures a secure, comfortable fit during active play. |
| Generous Overlap Closures | Vest Armor, Boot Covers, Cape Clasps | Offers a wide fit range for sharing between siblings. |
Where you place the accessory is just as important as its size. Make sure a belt is at the hips, not the waist. A satchel’s strap should not dig into their shoulder.
This attention to fit makes a costume piece more than just a prop. It becomes a believable part of their character’s world. A happy child is ready for any adventure.
Fast Attachment Methods (Snaps, Velcro, Clips)
When making accessories for kids, it’s key to use secure but easy closures. The right fastener keeps a pouch on a belt or a bracer in place. This guide looks at three popular options: snap fasteners, Velcro, and clips.
Each method has its own benefits for durability, safety, and looks. Choose based on the child’s age and the project’s needs.
Metal or plastic snap fasteners offer a classic choice. They click securely, making them great for belts, pouches, and boot covers. They look authentic.
They’re durable and can last for years. Their flat design also looks neat under costume layers.
But, they need a setting tool. Kids over six can manage them. Younger kids might find them hard to use.
Velcro: The King of Quick Adjustments
Hook-and-loop tape, or Velcro, is perfect for quick changes. It’s great for kids who grow fast or wear bulky clothes. It’s also easy to adjust.
It’s easy for kids to use, even the youngest. It’s perfect for bracers, boot toppers, and quick-cloak attachments.
But, it might not look as good as other options. The fuzzy strip can snag and the ripping sound can break the fantasy. Yet, its ease of use often wins for younger kids.
Clips and Buckles: Modular and Swappable
Plastic clips, D-rings, and ladder locks are great for kids who love to change things. They can swap pouches on a belt. This encourages creative play and mixing costumes.
These fasteners are strong and often used on real gear. They add a tactical look to fantasy costumes.
But, they can be bulkier. Some designs might have small parts. They’re best for older kids and projects that value customization.
| Method | Best For Age | Key Advantage | Consideration |
|---|---|---|---|
| Snap Fasteners | 6+ years | Secure, authentic look | Requires tool to install |
| Velcro | 3+ years | Easy, quick adjustments | Modern look, can snag |
| Clips/Buckles | 8+ years | Modular, swappable parts | Can be bulky |
Choosing the Right Fastener for Your Project
Choosing a closure is about finding the right mix of function and style. Ask yourself:
- How often will the item be taken on and off?
- Does the historical or fantasy aesthetic demand a specific look?
- What is the child’s age and dexterity level?
For a period-accurate leather pouch, snap fasteners are a top choice. For a toddler’s wizard robe that needs to grow, Velcro is unbeatable. For a modular adventurer’s belt with interchangeable potion vials, clips provide the perfect solution.
Mixing methods is also smart. Use a snap for the main closure and a Velcro flap for easy access. This combines security with convenience.
The goal is to create accessories that are not just beautiful, but truly functional. The right fastener empowers a child to fully engage with their imaginative world.
Aging & Weathering for Storybook Realism
Creating a storybook look in a costume isn’t just about making things look old. It’s about adding layers of visual storytelling. A brand-new belt pouch or boot cover can feel out of place in a fantasy world. Simple weathering techniques can change that.
They transform a pristine accessory into a piece that whispers of history and adventure. This process makes your craft feel like it’s from a real story. It gives a child’s costume a deeper story.
Dry Brushing for Highlighted Wear
Dry brushing is a great start. Use a nearly dry brush with a bit of acrylic paint. Lightly drag it over raised surfaces and edges. This technique adds paint only on high points, mimicking wear from handling.
The result is a subtle, realistic highlight that makes details stand out.
Distressing Edges with Sandpaper
For a worn look, gently sand the edges of your accessories. Use fine-grit sandpaper on foam leather or felt. Focus on corners and strap ends. This method frays edges and removes sharpness, giving the illusion of travel and use.
Creating a Patina with Natural Stains
Natural stains are perfect for an aged look. Brew strong black coffee or dark tea and let it cool. Apply it with a soft brush to lighter materials like natural felt or un-dyed cloth. The tannins create a soft, uneven patina that looks like years of sun and elements.
| Technique | Primary Tools | Visual Effect | Best For |
|---|---|---|---|
| Dry Brushing | Dry brush, acrylic paint (brown, gray, black) | Highlights edges and textures; simulates surface wear | Belts, pouches, bracers, book covers |
| Distressing | Fine-grit sandpaper, nail file | Softens and frays edges; creates a physically worn look | All leather and fabric edges, pouches, and boot covers |
| Staining | Cooled coffee, tea, watered-down brown paint | Adds an overall aged, yellowish-brown patina; unifies colors | Light-colored felt, natural fabrics, paper props |

The key to convincing weathering is subtlety. You want to suggest a history, not overwhelm the piece. Always test your technique on a scrap first. Build the effect slowly. Remember, a little goes a long way.
These methods add that final touch of storybook magic. They make a child’s accessory feel like a genuine artifact from their fantasy. It’s the detail that completes the look of a seasoned adventurer.
Safety Notes (Choking, Glass Alternatives)
Before starting any DIY costume project, safety must come first. When making things for kids, we focus on their well-being. This part talks about how to make sure your accessories are safe and fun.
Choking hazards are a big worry. Make sure small parts like snaps and beads are stuck down tight. Use strong glue and stitching to keep them in place. Always test each part by pulling on it hard before giving it to a child.
Choosing the right materials is key for things like belt pouches and potion vials. Don’t use real glass. Instead, pick something that won’t break easily. Plastic test tubes or small wooden containers are good choices.
Comfort and being able to breathe are also important. Avoid heavy, tight materials that can make kids hot. Use light foams and fabrics that let air through so kids can play without getting tired.
All paints, dyes, and glues need to be safe for kids. Look for labels that say they’re okay for children. Sand down any rough spots on wood or plastic to avoid cuts.
Straps and cords can be a strangulation risk. Never make long, loose loops. Use straps with quick-release buckles or snaps. Make sure they fit well and won’t get caught on things.
By following these guidelines, you can make accessories that supercharge imaginative play safely. Safety means kids can play without worry.
| Hazard | Risk | Safe Alternative | Verification Step |
|---|---|---|---|
| Loose Snaps & Rivets | Choking, Ingestion | Securely glued and stitched | Tug-test each piece firmly |
| Glass Potion Bottles | Breakage, Cuts | Plastic or silicone containers | Inspect for cracks, ensure lid security |
| Toxic Paints/Glues | Skin irritation, Poisoning | Non-toxic, child-safe formulas | Check for ASTM D-4236 seal on label |
| Long, Loose Straps | Strangulation | Adjustable straps with quick-release clips | Ensure snug fit, no dangling length |
| Sharp Edges & Points | Cuts, Punctures | Sanded smooth edges, rounded corners | Run finger along all edges |
Use this checklist as your last check before finishing your project. A careful approach to safety builds trust. Your creations will be ready for any adventure, safe and sound.
Styling Tips + Packable Storage
Styling your handmade accessories is the final step to bring your character to life. A good styling strategy makes your fantasy persona shine. Think about layering pieces for depth and using color to tie the look together.
Try placing a belt pouch over a layered vest or tunic. Pair your crafted boot covers with simple leggings or trousers. Attach bracers over long sleeves. This thoughtful styling creates a unified and believable costume.
Practical storage is key. Design your accessories to be packable. Use roll-up designs for belts and boot covers. Add snaps or clips to make components removable. This makes travel and seasonal storage easier.
Many enthusiasts cycle their costumes throughout the year. Keeping everything organized prevents damage and saves time. Versatile solutions, like stackable bins and multi-functional organizers, can be repurposed for costume pieces and props. Check out a guide on dedicated storage organizers.
Mastering both styling and storage of your accessories keeps your creative kit manageable, durable, and ready for the next adventure.